| Help Topics |
| Setup Demo 2100-A16-NET via XPORT Installer Modbus |
You use the XPORT installer to assign and setup Ethernet settings of an 2100-A16-NET or 2100-NET for Modbus TCP Connection.
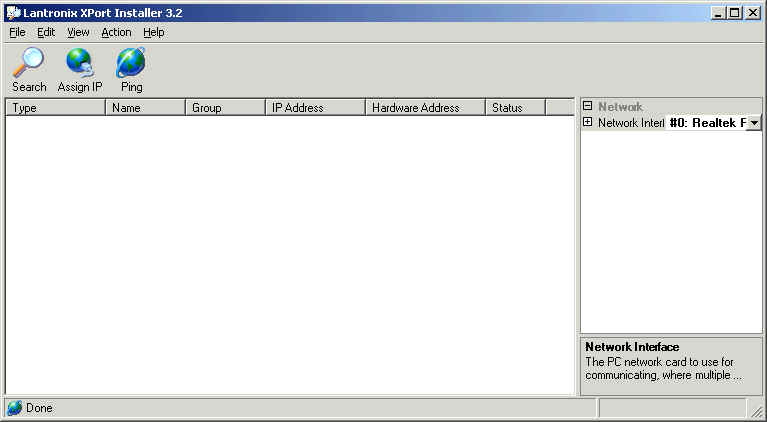
Start Installer
To Start the installer, click Start, Programs, XPort Installer, XPort Installer
Find XPorts
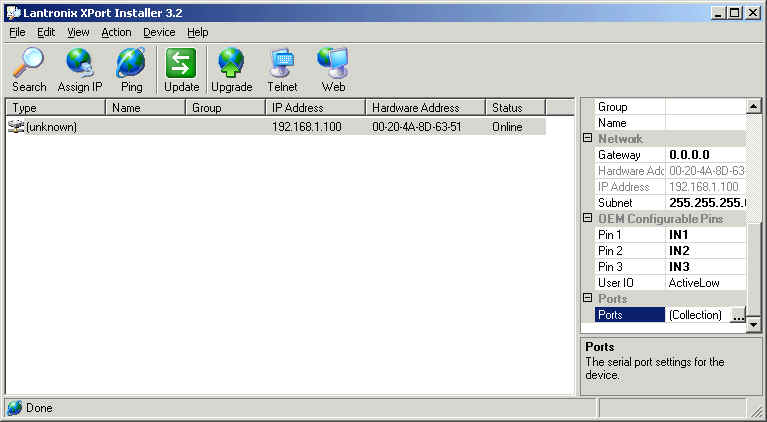
Click Search to find 2100-A16-NET or 2100-NETs
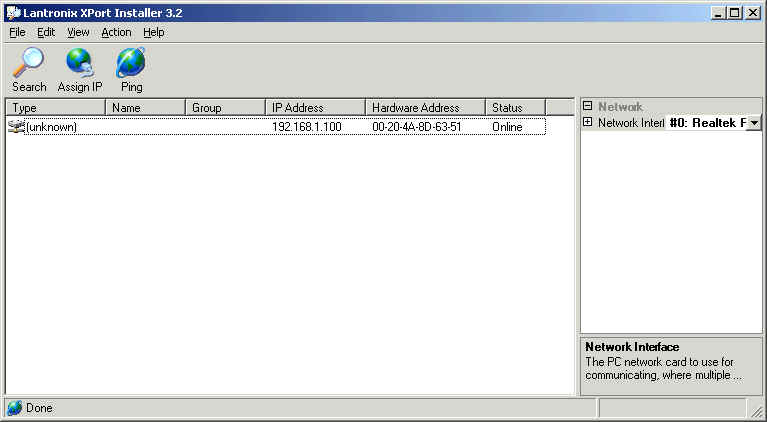
The window shows a XPORT found at factory address 192.168.1.100
Assign IP Address
To assign a new IP address, select the XPORT and click Assign IP
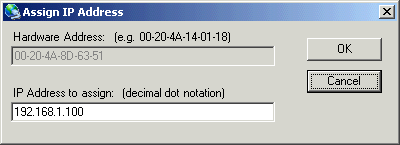
Enter the new ip address and click OK, then wait for the new address to be programmed.
To assign an ip address if the Search function does not find it:
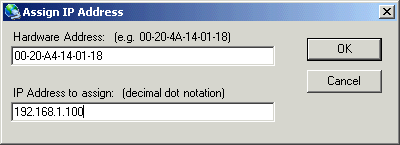
Enter the Hardware address of the XPORT (written on lid of XPORT) and enter IP address and click OK.
Set Port Settings
To set the XPORT settings, select the XPORT, and find the Port Settings on bottom right of the right hand pane.
Click the ... Button.
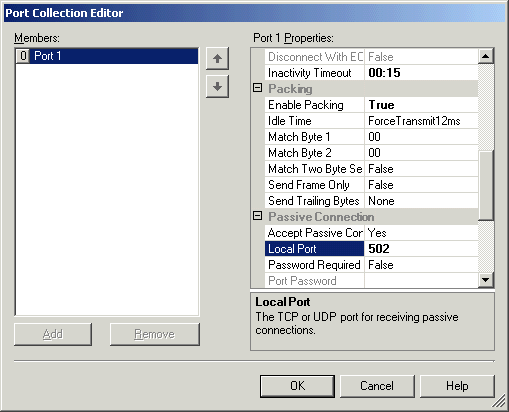
The key settings are shown (all others should be left in factory state).
Click OK to accept changes.
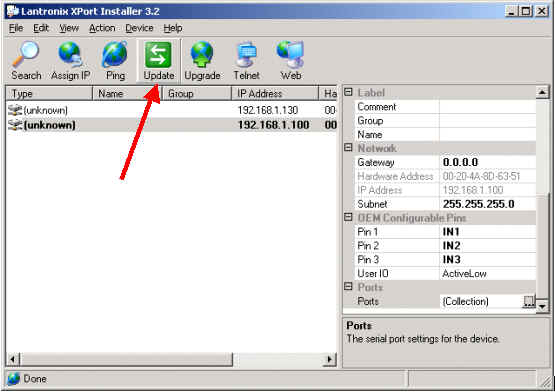
Update Changes to the XPORT
Click the Update button to write them to the XPORT.
If the XPORT is being used on a 2100-NET talking to another bit of comms gear, the Port Serial settings can be set to suit as shown below.
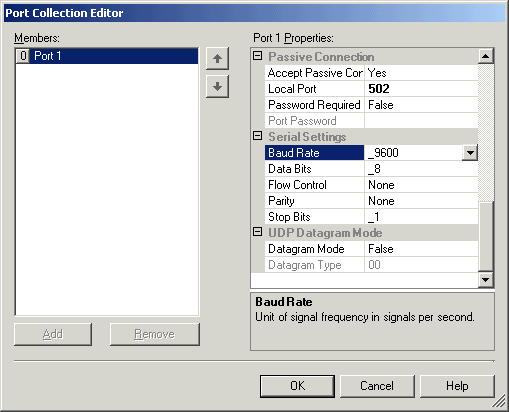
Make changes, click OK and click Update to write to the XPORT. Default Serial settings (9600,8,n,1) shown for use with 2100-XX stations.