| Help Topics |
| Demo Setup 2300-RTD6 via Network |
This demo shows the connection to a 2300-RTD6 (serial connection).
| Equipment Needed | Settings |
| 2300-RTD6 | Unit Number 1, 9600,n,8,1 on COM1 Unit number set on station dip switches |
| 2300-NET | Factory set at 192.168.0.112 |
| Computer - IMPORTANT | Set IP address to 192.168.0.113 or be able to access network 192.168.0.XXX |
Summary of Steps:
Connect hardware
Connect 24v supply to 2300-RTD6 and 2300-NET
Connect comms lead 70 to 70 and 71 to 71.
Add 1K terminating resistor accross terminals 70 and 71 on 2300-RTD6.
Connect Ethernet lead to 2300-NET (crossover if direct to computer, or straight
through for hub connection).
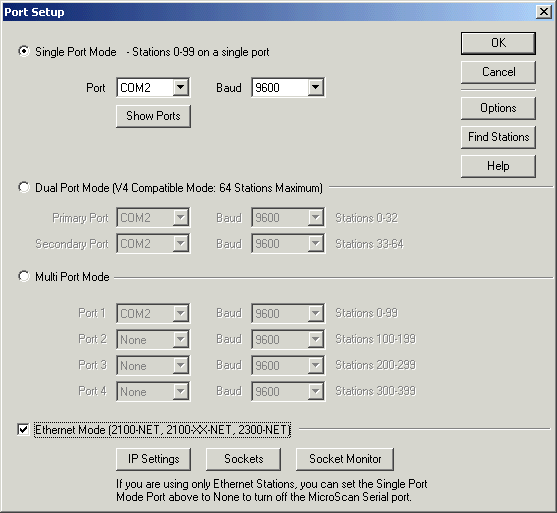
Enable 2300-NET Ethernet Support
Click MicroScan Interface
Click Ethernet Mode ON, click OK.
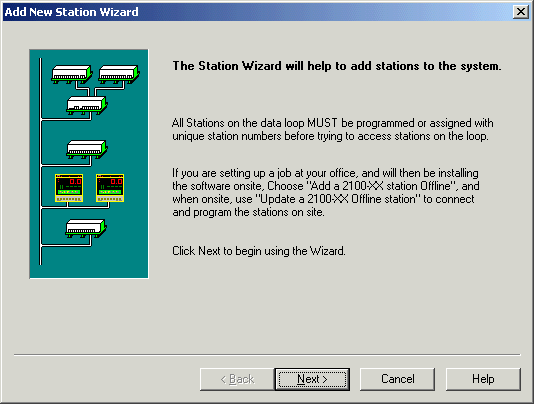
Click Next
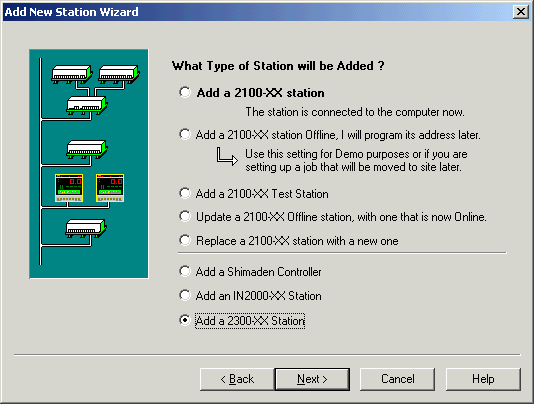
Click Add a 2300-XX Station, Click Next
Click Next
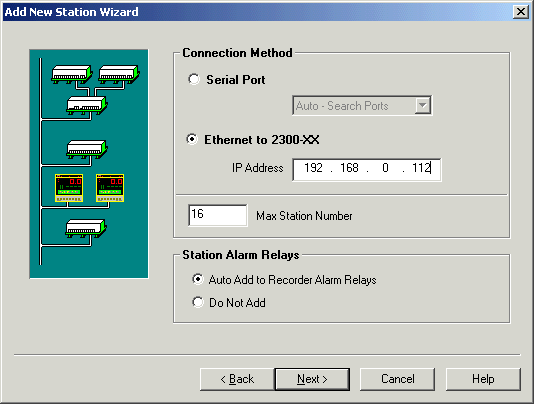
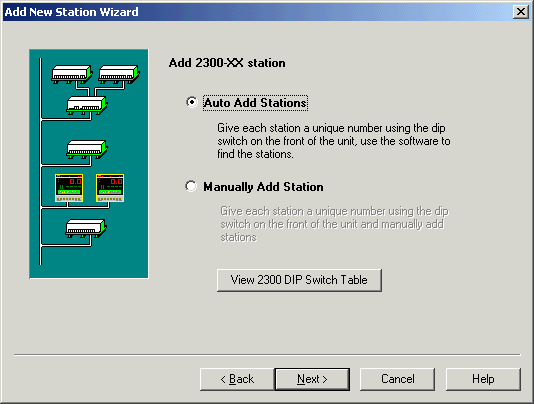
Click Ethernet to 2300-XX, enter ip address 192.168.0.112, click Next
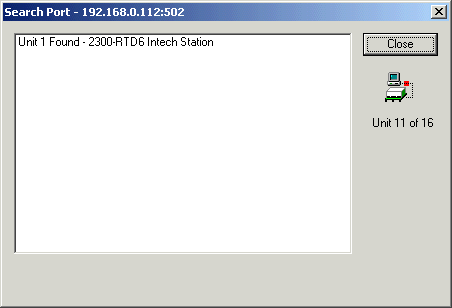
Progress Window.
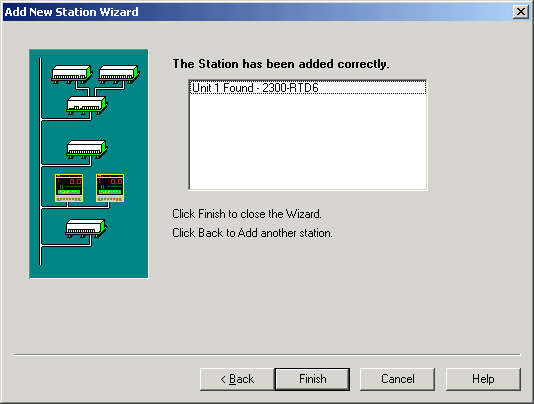
Operation Complete - click Finish.
Program Station (to set ranges and test station : optional step)
Click Program Station Setups
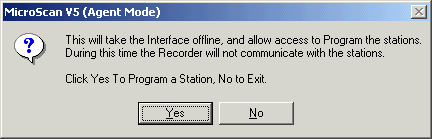
Click Yes
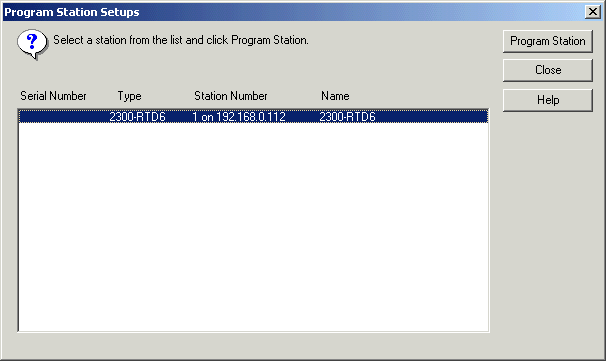
Select the Station and click Program Station.
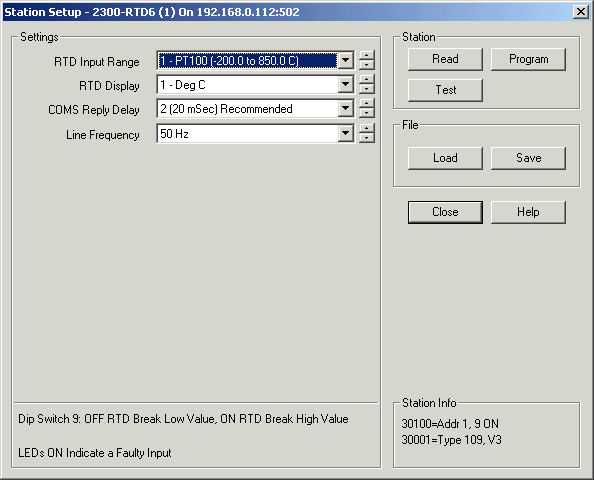
To make changes, change items and click Program to write to Station.
Click Test to test station.
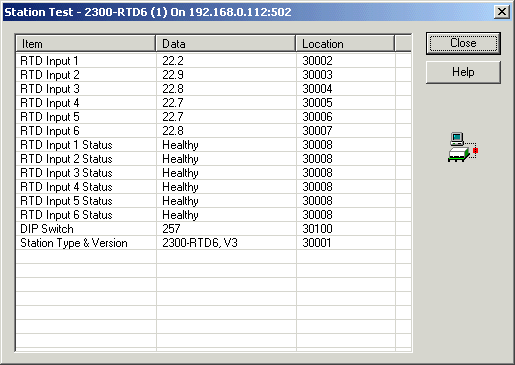
Click Close to exit from Test dialog, and Close to exit from Station programming dialog.
Connect station inputs to Lines
Click Configure Pages and Lines
Double click on station, so that its input connection boxes are visible.
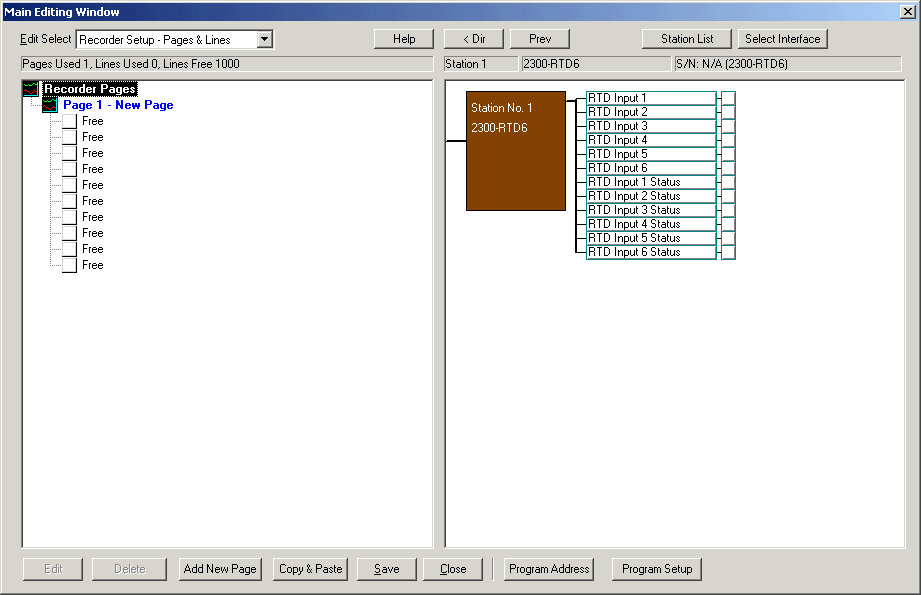
Click on each input, and drag over to a free line under "Page 1 - New Page"
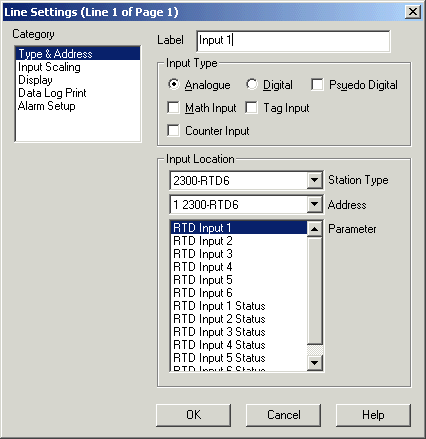
Enter a label for the line, click OK.
Repeat for all other inputs needed.
Station Status (at bottom of navigation tree)
![]()
Double click to see Comms stats

Set Computer IP address to 192.168.0.113
Access Network TCP/IP settings in Control Panel
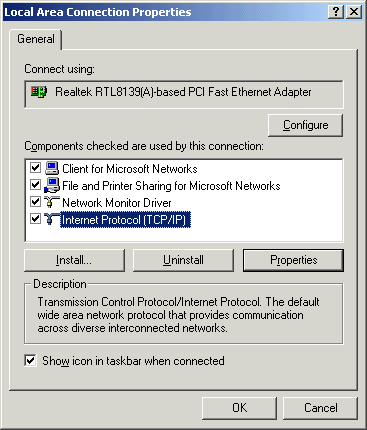
Click Internet Protocol, Click Properties
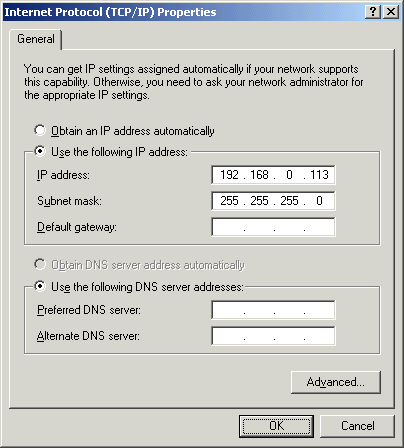
Choose "Use the following IP Address" and enter 192.168.0.113.
Enter subnet 255.255.255.0, click OK, click OK.
Use ping 192.168.0.112 in a command prompt to check basic connection to 2300-NET is working.