| Help Topics |
| Demo Omron Serial |
This demo shows the connection of an Omron C Series PLC to microscan.
Equipment needed
| PLC | Omron C Series, RS232 port, Host Link protocol, Unit number 0, 9600, 7 Bits, Even, 1 Stop bit. |
| Computer | COM1, RS232 cable to RS232 port on PLC. |
Summary of Steps:
Select Tag mode, & Omron PLC Interface
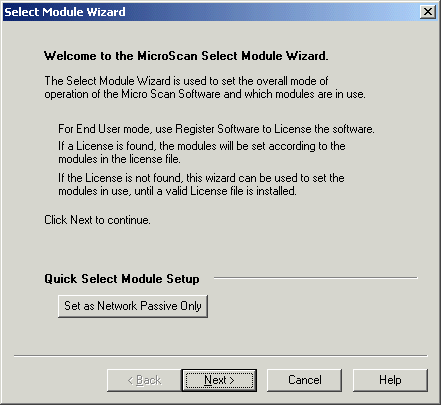
Click Select Module Wizard
Click Next
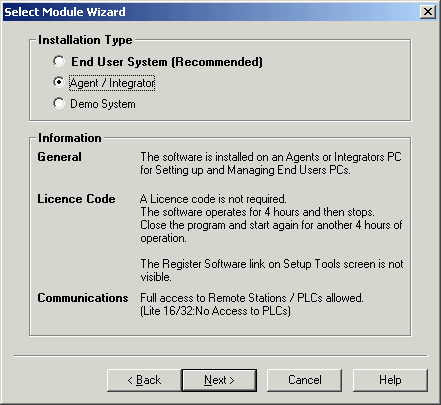
Select Agent / Integrator, Click Next
Note for this demo, the Agent Mode is used but on a real job, End User System
would be used with a dongle.

Click Tag System, click Next
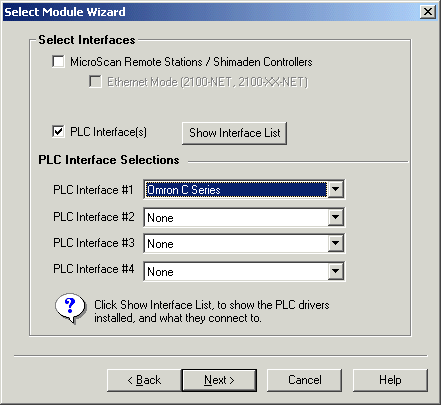
Click "PLC Interface" on, select Omron C Series for PLC Interface #1, click "Microscan Interface" Off, click Next.
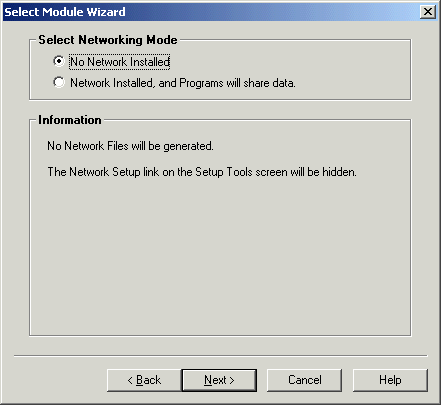
Click Next
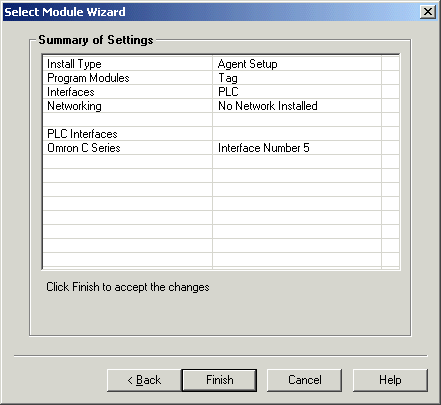
Click Finish
Use PLC Interface setup to set COM port for PLC connection
Click PLC Interfaces Link
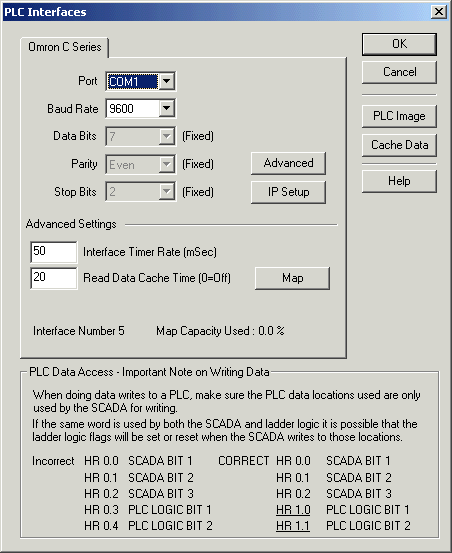
Select Port, click OK.
NOTE: Do NOT use the Map button to create PLC slots and words, let the MicroScan do this automatically when you create lines and tags.
Use Configure Tags and Tag Setup dialogs to make the settings for each tag
Click Configure Tags
Double click on a Free Tag.
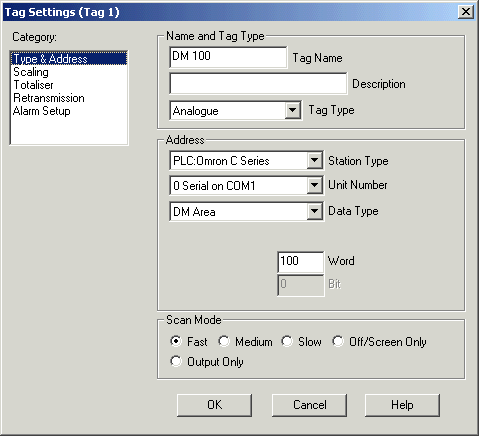
To read data from DM 100:
Select Unit Number 0 (default)
Data Type = DM Area
Word =100
Click OK.
Click Save, Click Close.
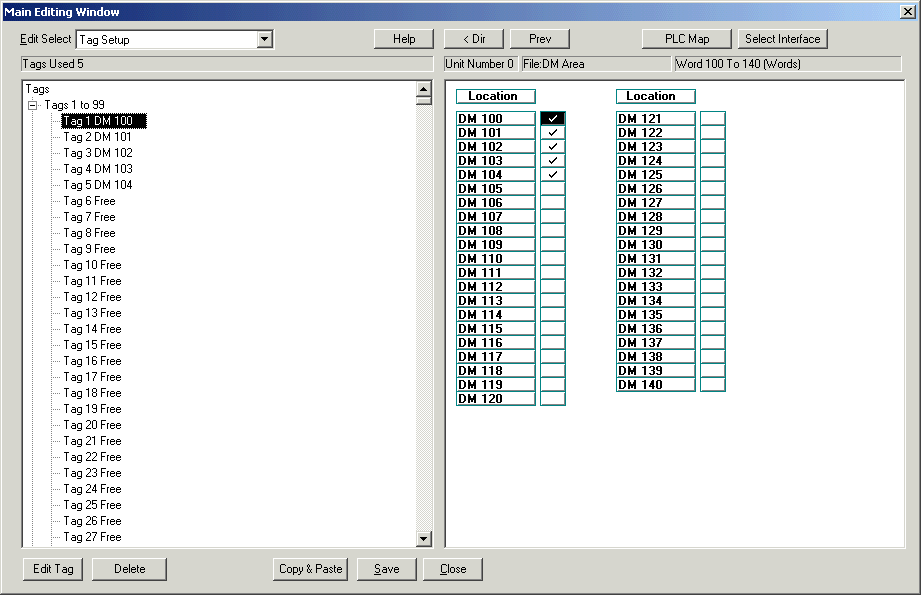
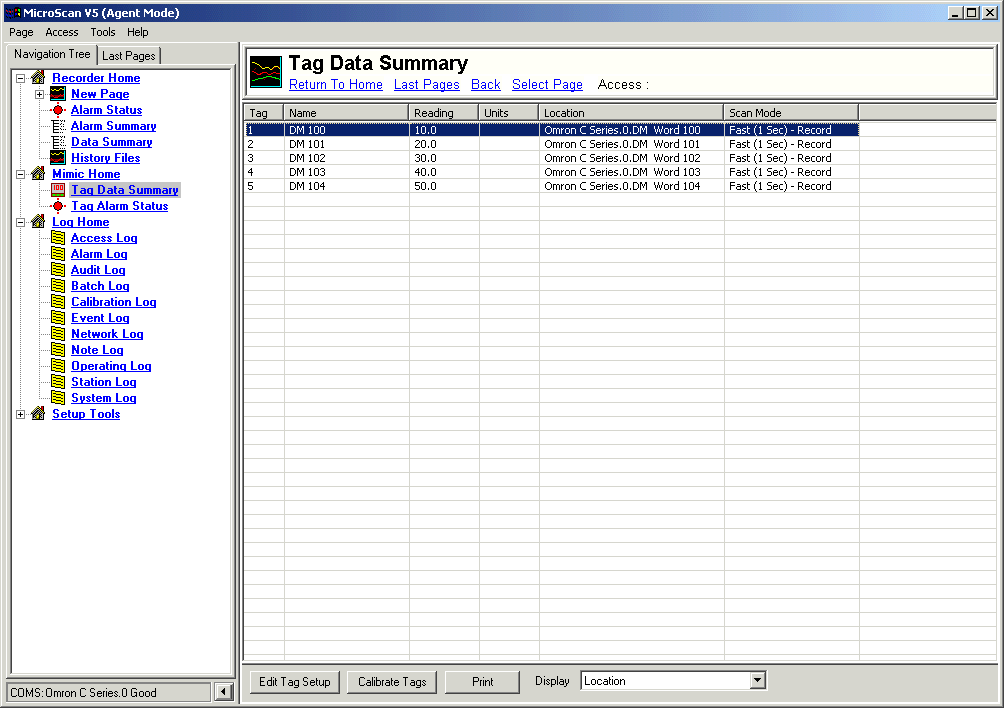
View of Configure Tags, after Tags 1-5 created, looking at DM 100-104.
Click Tag Data Base on Navigation Tree
Station Status (at bottom of navigation tree)
![]()