| Help Topics |
| Step 1 Add Station |
The first step in setting up a MicroScan system is to add a station.
Connect power to the station and ensure the comms cable is connected from the station to the computer.
Comms connection table
| RS232 | Short distance up to 15m. Connect station to computer with supplied gray cable and 9 pin plug to a computer COM port. |
| RS422 | Long distance 4 wire data loop. Connect 2100-IS to computer and terminals 70,71,72,73 from converter to A16. (A16 H2 linked L1, L2). |
| RS485 | Long distance 2 wire data loop. Connect 2100-IS to computer and terminals 70,71 from converter to A16. (A16 H2 linked L3, L4). |
| USB485 | Short distance up to 3m. Connect USB485 to computer. Load USB drivers. On A16, connect 70 to yellow, 71 blue, and 74 green. (A16 H2 linked L3, L4). |
| Ethernet | A16 connected via Ethernet Cable. See Step 1 Add Station Ethernet. |
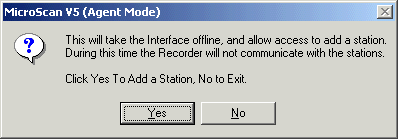
Make a note of the stations serial number, and click "Add New Station" Link. The example steps are shown below.

Click Yes to start the operation.
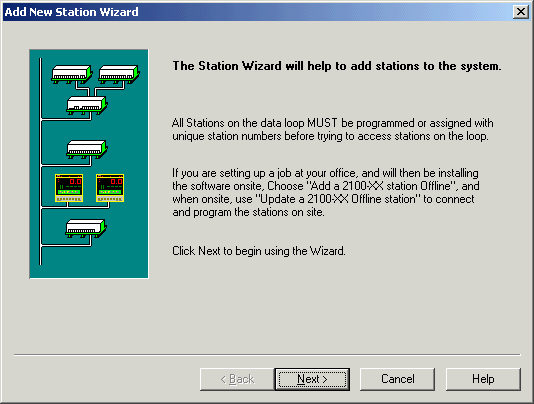
Click Next
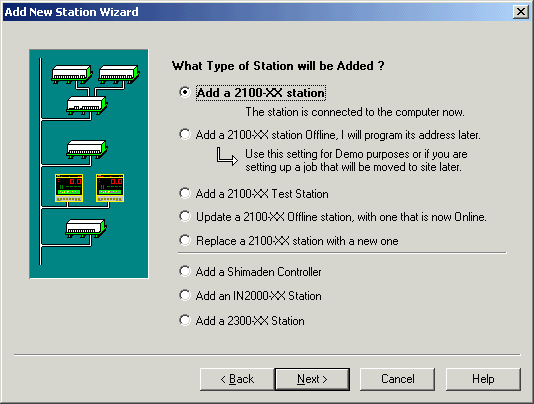
Click Next
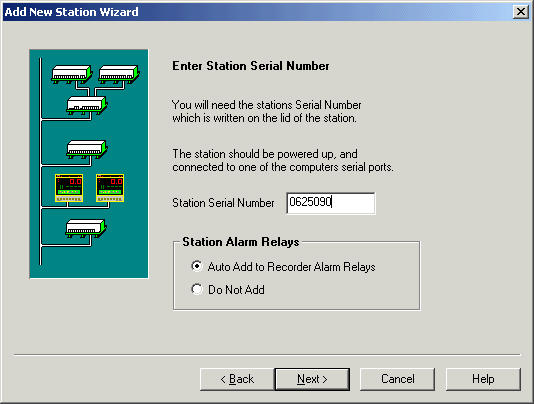
Enter the stations serial number, click Next.
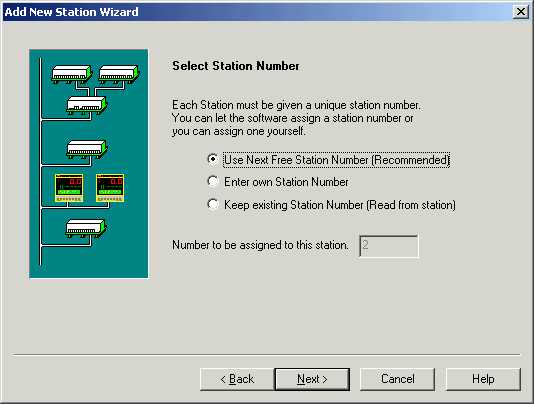
Let MicroScan assign the station number (starts from station 2), click Next
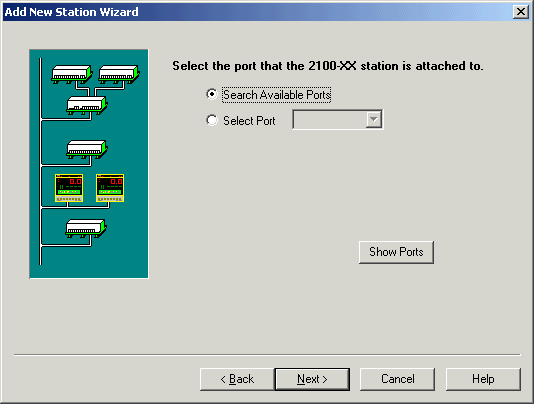
Let MicroScan search ports, click Next
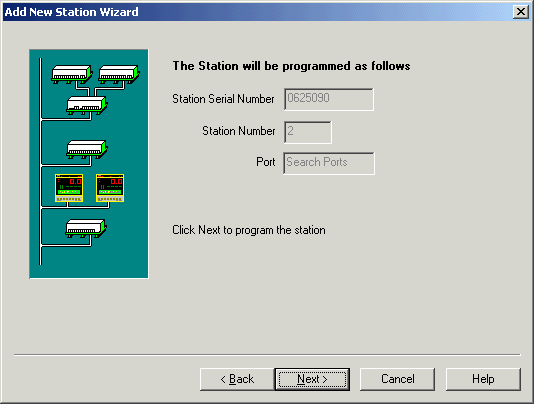
Summary Info, Click Next
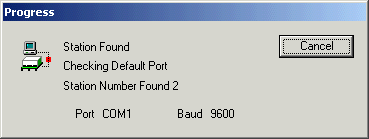
Progress Window
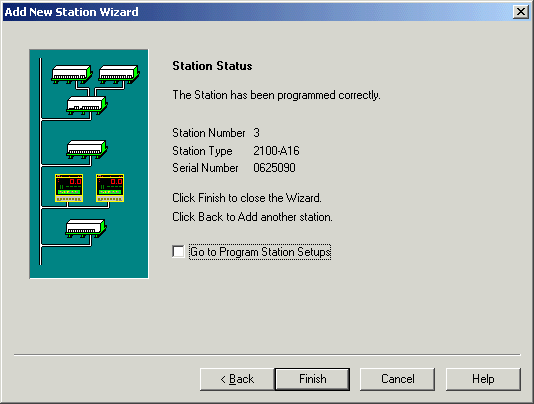
Operation complete, click Finish.
If the station cannot be found, you can use Find Stations (accessed by clicking MicroScan Interface, Find Stations) to find stations on serial ports.
Each station needs to be added to the MicroScan using the Add Station Wizard only once.