| Help Topics |
| Step 3 Configure Pages and Lines |
The next step is to setup the Page and Line settings. Each page contains 10 lines and is used to group the recordings together.
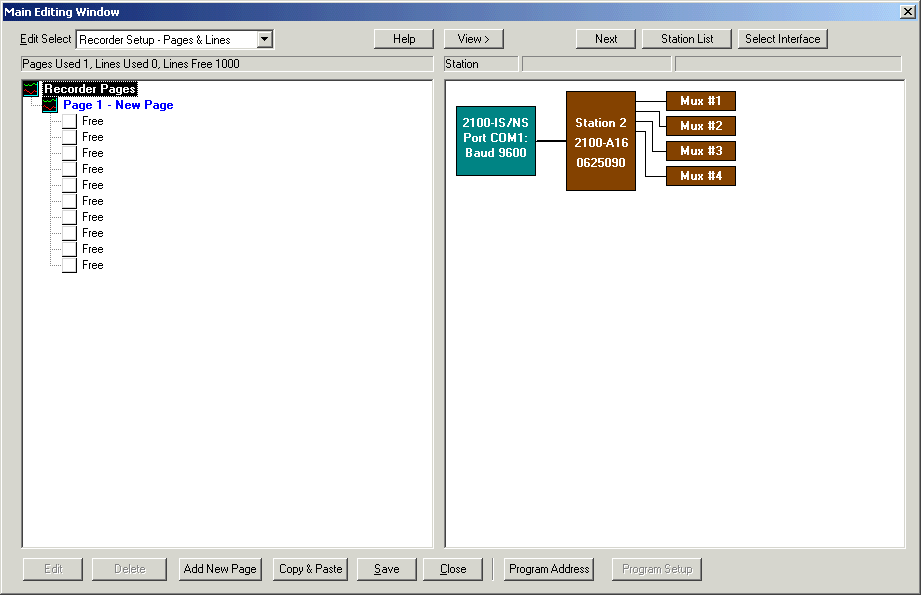
To begin, click the "Configure Pages and Lines" link. The window below is shown.

Double click Station 2, so that all its connection points appear.
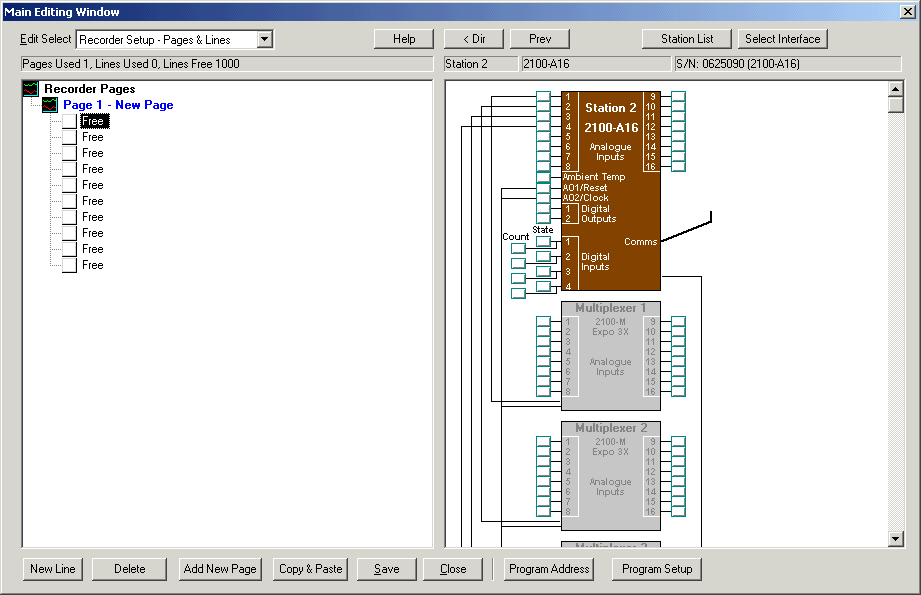
To connect a station input to a line, in the station map on the right, click on the box next to the input and drag it over to a free line in the Pages and Lines on the left.
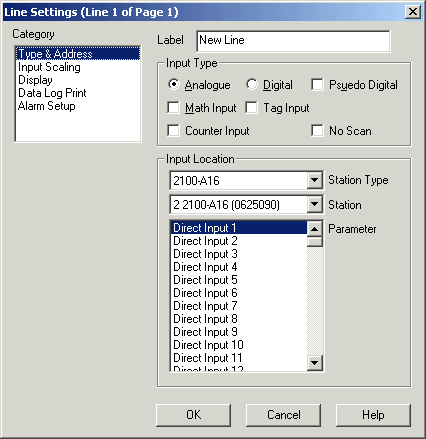
Enter a label for the line, and click OK.
If the input is an RTD or TC input, no scaling will be required as the input is
scaled in the station.
If the input as a voltage or mA DC input, click the Input Scaling category to
set the range of the input up.
To edit the line settings again, select the line and click Edit Line, or double click on the Lines label.
To Edit Page settings such as Name,Recording Rate etc, click on the Page 1 - Page Name, and click Edit Page, or double click on Page 1- Page Name.
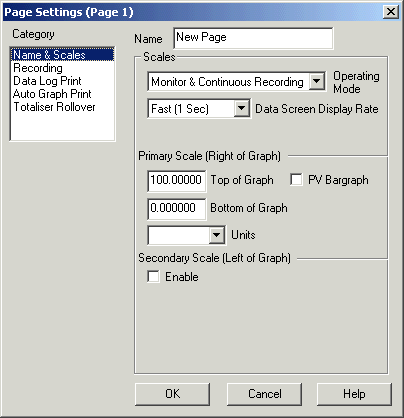
Click OK to keep changes.
Note on Page Scaling - the Name and Scales has a Top and Bottom of graph
setting. This would be set to the range of interest that you wish to view on the
graph. The Line scaling is set according to the range that the input on the
remote station is connected to (i.e it is possible to have a line range of -50
to +50, but we only want to view -5 to +15 on the graph).
Back to the Main Editing Window, click Save to save changes to disk and Close to finish with Page and Line setup.
Create a New Page
To create a new Page, click "Add New Page" button.
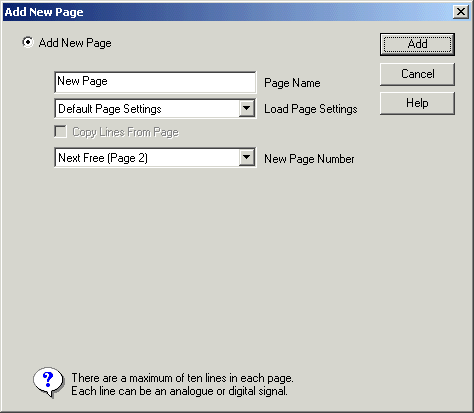
Enter the Page Name and click OK. The new page will be created with an additional 10 lines available to be used.