| Setup Tools |
| MicroScan DLP-D Install Driver |
The MicroScan DLP-D Driver must be installed before plugging the dongle into
the computer.
This will normally be done by the setup installer, or can be done via the file
dlpd.exe.
NOTE:
The MicroScan DLP-D driver is unsigned, thus when installing Windows will prompt with warning saying the driver is unsigned. Click "Continue Anyway" (XP) or "Install this driver software anyway" (Vista). See Driver Signing.
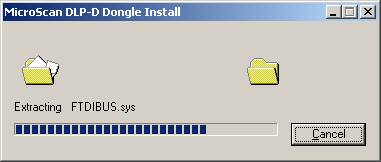
Example Screen shots on installing the Dongle Driver (this will be done during the MicroScan Install)
You may or may not get driver signing messages appear during the driver install, if so click Continue Anyway. See Driver Signing.
Example Screen shots of plugging in a dongle on : Windows XP
1. Install MicroScan V5 Software FIRST.
2. Attach MicroScan DLP-D dongle before Starting Version 5, this allows Version
5 to read serial number and modules from the dongle to set itself up.
3. The following screens will be shown:
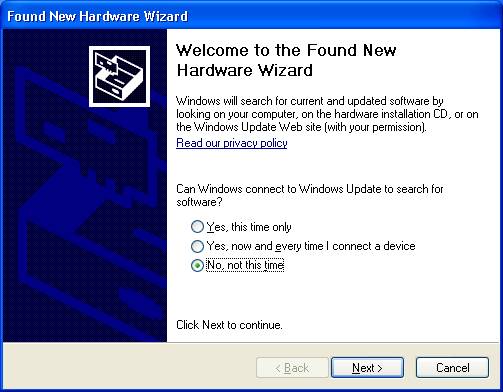
Click "No, not this time", click Next.
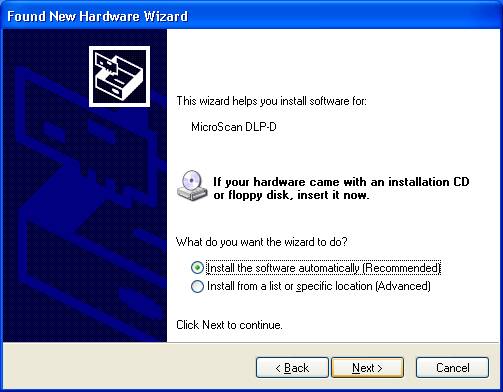
Click Next
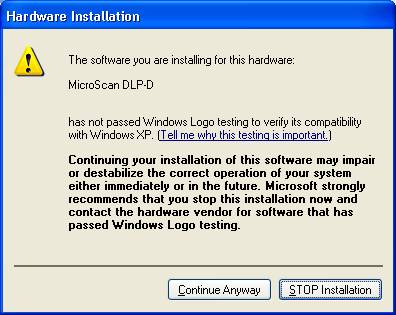
Click Continue Anyway (this may appear twice).
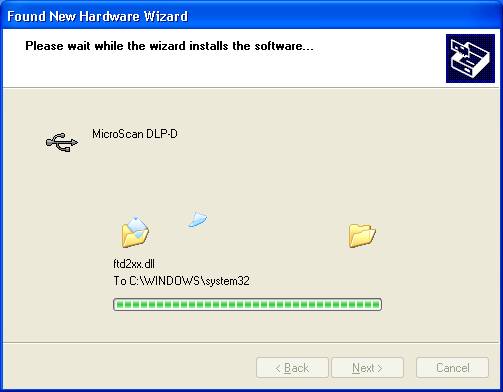
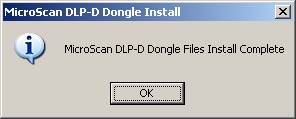
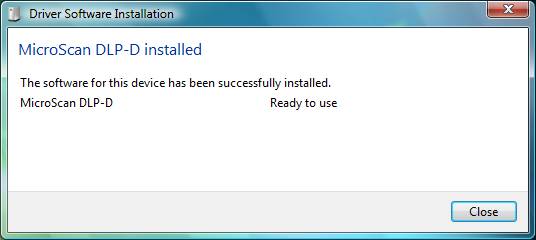
Progress dialog shown and when finished, Finish page is shown.
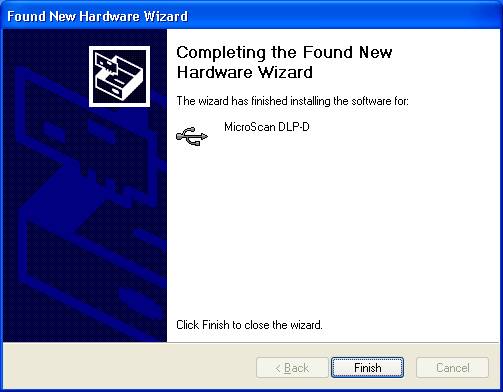
Completion: click Finish.
Example Screen shots of plugging in a dongle on : Windows Vista
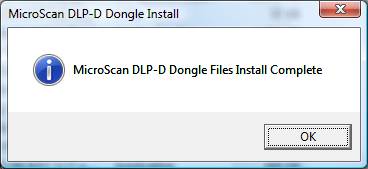
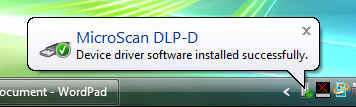
Driver Files installed:
Driver Signing dialog:
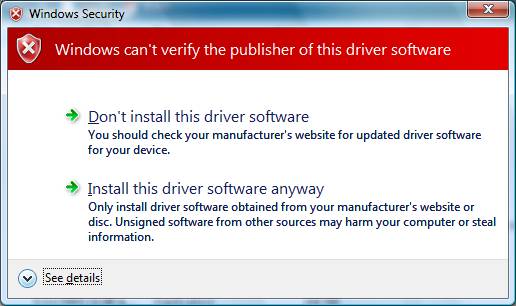
Click "Install this driver software anyway" to continue to load the driver (this may appear twice).
Dongle attached to computer:
Click for more information:
Example Screen shots of plugging in a dongle on : Windows 2000.
The following dialog is displayed:
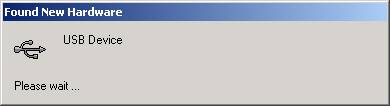
Which will then change to
and then dissappear.
See Also
MicroScan DLP-D and Device Manager
MicroScan DLP-D
and USBView