| Recorder Quick Setup |
| Step 1 - Station Setup |
This Quick Setup Screen is used to add or remove stations to the MicroScan
program.
To Add 2100-XX stations, you need to have the serial number of the 2100-XX
station(s) at
hand.
When the software is started for the first time, a station will need to be
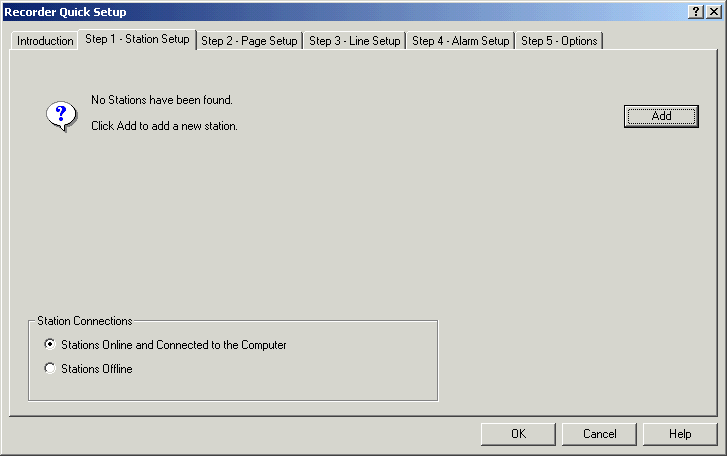
added. The Station screen is shown as follows.

The station should be powered up and connected to the computer. View Station Connections.
Confirm "Stations Online and Connected to the Computer" is clicked, as in the image above.
Click Add to add a station. Add Station
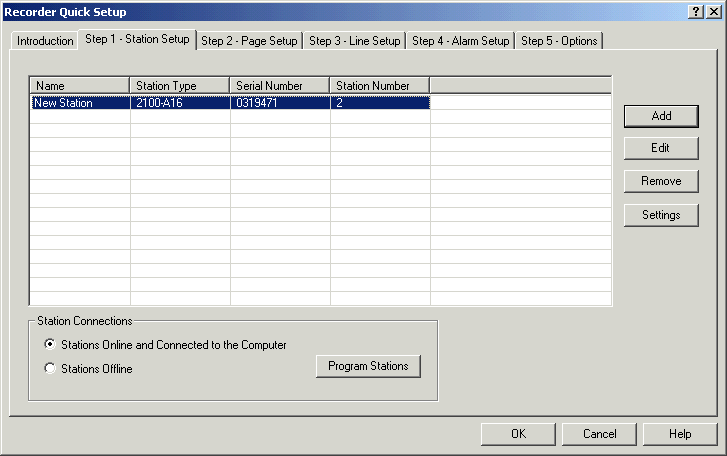
Station Setup with 1 station added.

To change the settings of the station, click the station in the list box, and click Settings. The station programming dialog box will be shown. The station input ranges can be setup with the standard station dialog box here, or they can be setup directly when the Lines are setup in the Quick Setup screens which is an easier automatic method.
To Edit the station name, click on the station, and click Edit to change the Name.

Enter a new name, and click OK.
To remove a station, click the station, and click "Remove". Click Yes to confirm the removal of the station.
Station Offline Mode
The station offline mode is used by MicroScan integrators who will setup MicroScan jobs in their office without having the stations connected to the computer. This mode is supported within Quick Setup, and it allows the stations and input ranges to be setup and then programmed once the software is installed on site.
To enter this mode, use the station setup, with the radio button "Stations Offline" clicked.
Note: The 2100-R Relay expander and 2100-M Multiplexer are not accessed via the serial number system, as they appear on the 2100-XX stations as an attached device.